
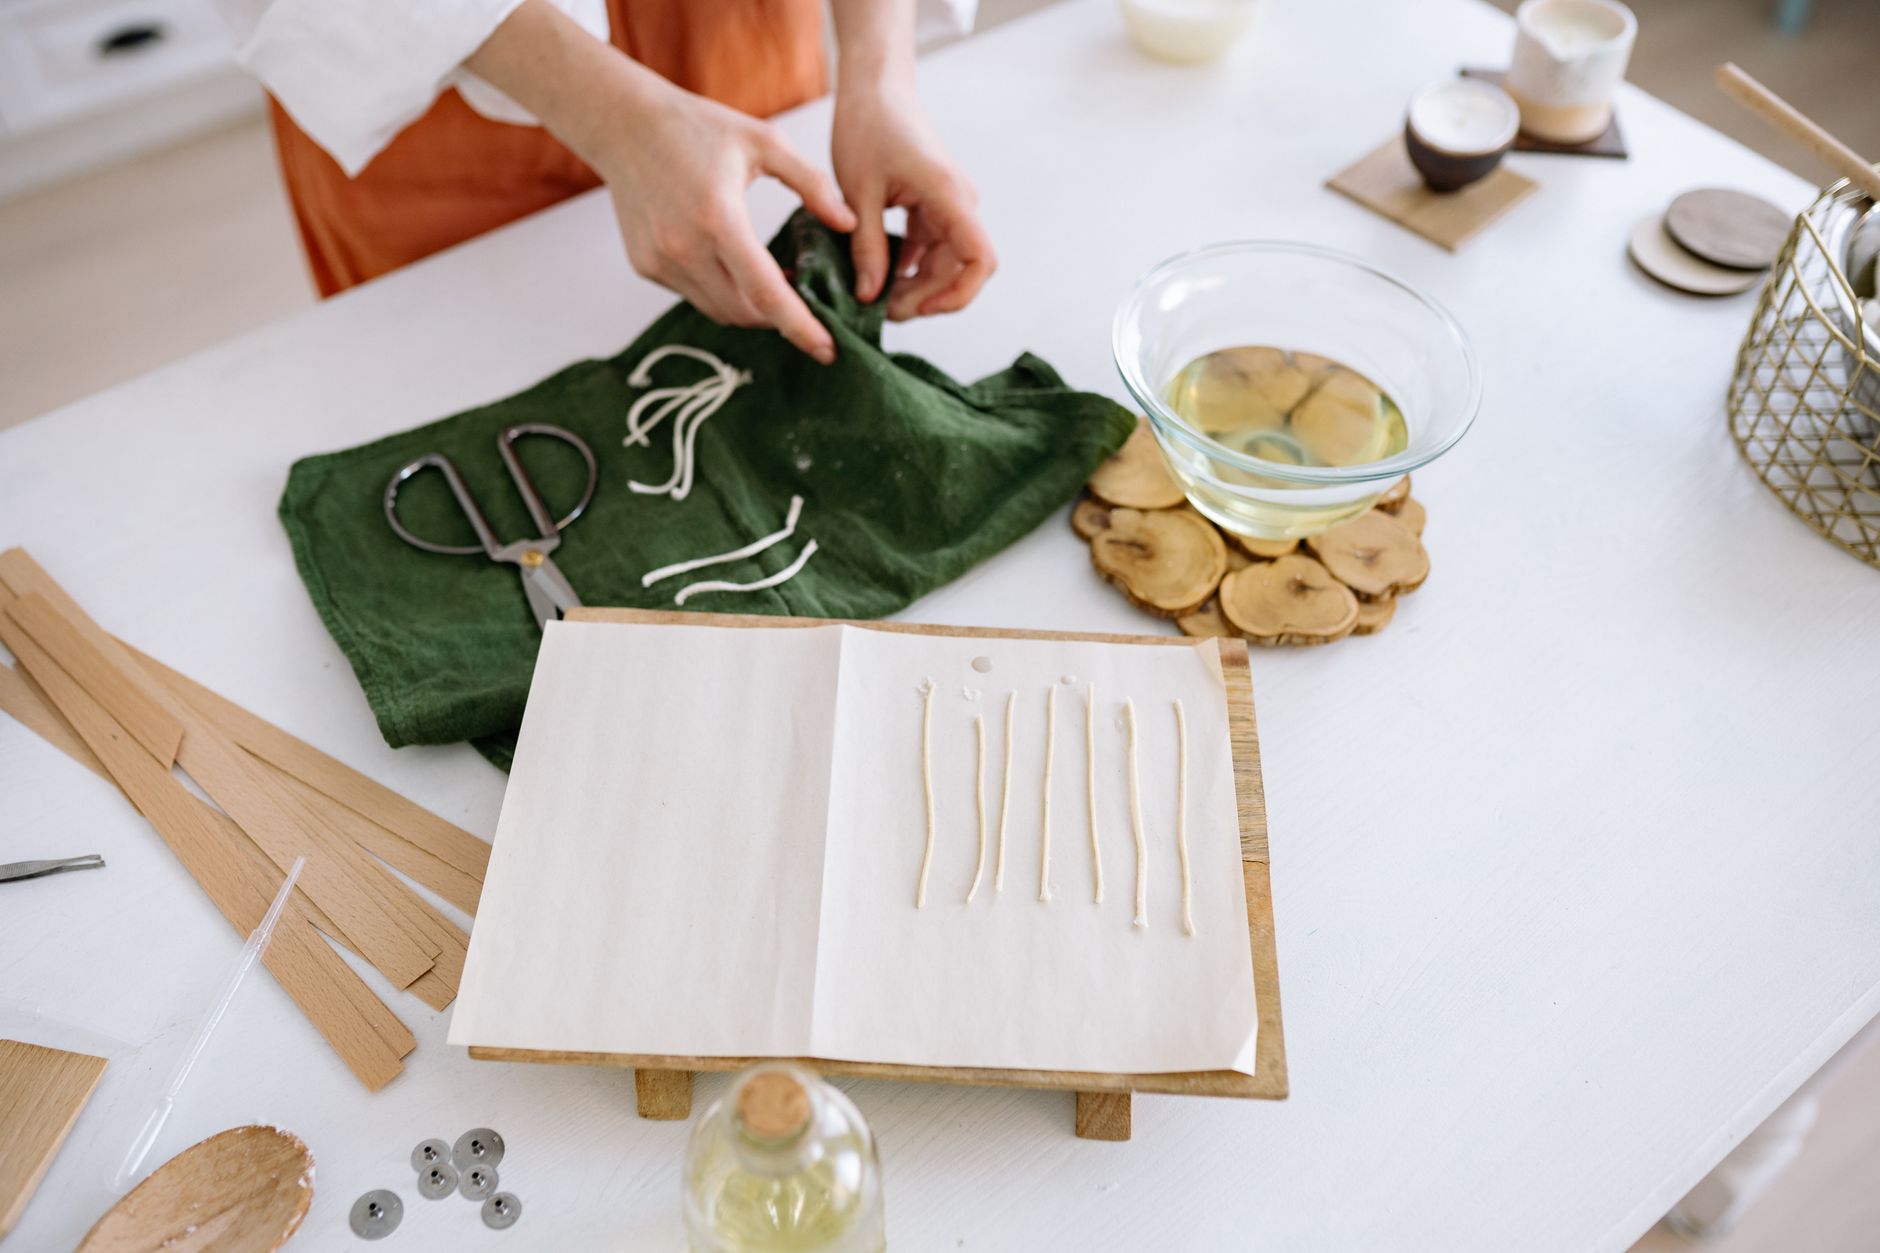
Candle Making
Candle making is surprisingly simple, smells wonderful, and produces gifts everyone loves to receive. A single afternoon yields a shelf full of candles.
What you need to start
- Soy or beeswax flakes
- Wicks and containers
- A fragrance oil
- A pot for melting
At a glance
Your learning path
Three stages, taken at your own pace. Start at the top, get comfortable, then move down as you grow. There is no rush, and no wrong place to begin.
Candle making is one of the friendliest crafts to start. These four videos walk you from an empty jar to a finished, sweet-smelling candle, one calm step at a time.
How to Make Perfect Soy Candles (Full Beginner Tutorial)
Skilled Hands OrganisationHow To Make Soy Wax Candles At Home: Proven Tips & Tricks For Flawless Candles
Bramble BerryHow to Properly Melt Candle Wax
makesyHow to Use Essential Oils in Candle Making
makesyOnce you have made a few candles, these videos help you fix the little problems and make smarter choices about wicks, scent, color, and wax.
How To Prevent & Fix Sinkholes In Your Candles
Drip From The CryptHow I Test Burn Candles for Proper Wick Sizes in All Containers
Standley HandcraftedHow to Calculate How Much Candle Wax and Fragrance Oil You Need
CandleScienceHow To Color Soy Candles: Adding Color 3 Different Ways
LadyCIMONNE Candle Co.Best Wax for Candle Making? Soy, Paraffin, Beeswax & Coconut Wax Explained
Essence Melts CandlesReady to stretch yourself? These videos cover pillars and molds, layered designs, crackling wood wicks, custom scent blends, and even turning your hobby into a little business.
How to Make Pillar Candles // CandleScience Tutorials
CandleScienceHow to Make Layered Candles by Candlewic
Bill BinderWood Wick Candle Tutorial For Beginners
Wade (BLACK TIE BARN)How to Blend Fragrance Oils: Creating Your Own Custom Candle Fragrance
Pro Candle SupplyThe Official Candle Business Guide 2026 For Beginners & Beyond
Wade (BLACK TIE BARN)Why candle making is wonderful after 50
Candle making rewards patience and a steady hand more than speed, which makes it a perfect fit after 50. You work at your own pace, sitting at the kitchen counter with a warm pot of wax and a quiet afternoon. Each candle is finished in a single sitting, so you see a real result the same day, and the gentle scents are calming. It costs very little to begin, the supplies store easily in a cupboard, and a finished candle makes a heartfelt, personal gift for children, grandchildren, and friends. Best of all, there is no wrong way to enjoy it. You can keep it simple with one jar and one scent, or grow it into a creative outlet, a small income, or a craft you share with others.
Your first month, week by week
Start small. Buy a beginner soy wax, a few cotton wicks, a couple of heat-safe jars, and one fragrance oil you love. Make a single candle following one of the beginner videos, and simply enjoy the process without worrying about perfection.
Make two or three more candles and pay attention to temperature. Use a thermometer to melt your wax and to know when to add fragrance and when to pour. Let each candle cure (rest) for several days before you light it.
Do your first burn test. Light a candle and watch how the wick burns. Is the melt pool reaching the edges? Too much smoke? This tells you whether your wick size is right, and it is the single most useful skill in candle making.
Try one new thing: a different scent, a touch of color, or a new jar shape. By now you will know what you enjoy most. Decide whether you want to keep it relaxing and simple or start exploring the intermediate techniques.
Common mistakes to avoid
- Using the wrong wick size for the jar. Match the wick to your jar's diameter and wax type, then burn test. Too small causes tunneling; too large causes smoke and a high flame. When unsure, test two sizes side by side.
- Pouring the wax while it is too hot. Let the wax cool to the temperature your wax recommends (often around 135 degrees Fahrenheit for soy) before pouring. Pouring too hot causes sinkholes, cracks, and rough, uneven tops.
- Adding too much fragrance oil. Stay within your wax's limit, usually about 6 to 10 percent (roughly one ounce per pound of wax). Extra oil does not make a stronger scent; it pools, clogs the wick, and can make the candle sweat.
- Not letting candles cure before burning. Give soy candles at least a few days, ideally one to two weeks, to set and develop their scent before lighting. A cured candle smells far stronger and burns more evenly.
- Adding fragrance at the wrong temperature. Add fragrance oil at the temperature your wax calls for (commonly around 185 degrees Fahrenheit), then stir gently for a full two minutes so it blends in. Too hot and the scent burns off; too cool and it will not mix evenly.
- Not trimming the wick. Trim the wick to about a quarter inch before every burn. A long wick makes a tall, smoky flame and leaves black soot on the jar. A quick trim gives a clean, steady flame every time.
Make it easier on your body
Simple ways to keep candle making comfortable and safe with arthritis, low vision, or limited mobility.
- Use a lightweight pouring pitcher with a comfortable handle instead of a heavy pot. It pours in a controlled stream, so you steer the wax with less wrist strain and far less spilling.
- Melt wax in small, safe batches. Working with a half pound or a pound at a time means lighter lifting, less heat to manage, and a pitcher you can hold steady without tiring.
- Set up to work seated at the counter or a sturdy table. Keep your wax, thermometer, jars, and wicks within easy reach so you never have to stretch, twist, or stand for long stretches.
- Buy pre-tabbed wicks (wicks already attached to a metal base) and wick stickers. They save the fiddly job of centering and gluing wicks, which is hard on arthritic fingers and low vision.
- Choose a thermometer with a large, clear display, or a digital one that beeps. It takes the guesswork and squinting out of temperatures, which matter a lot in candle making.
- Work in a well-ventilated spot near an open window or fan, use easy-grip tools and a silicone spatula, and keep batches small so you are never lifting or carrying anything heavy or hot.
Words you'll hear
- Wick
- The cotton or wood strip in the center of the candle that draws up melted wax and feeds the flame. Its size controls how the candle burns.
- Melt pool
- The pool of liquid wax that forms around the wick as the candle burns. A good melt pool reaches the edges of the jar so no wax is wasted.
- Cure time
- The resting period after pouring, before you light the candle. Curing lets the wax and fragrance settle so the candle smells stronger and burns better.
- Fragrance load
- The amount of fragrance oil compared to the wax, given as a percent. Most candles use about 6 to 10 percent, roughly one ounce of oil per pound of wax.
- Flash point
- The temperature at which a fragrance oil could ignite. Always add fragrance below this point, which is why you melt and cool the wax to a safe temperature first.
- Frosting
- A natural white, crystal-like coating that can appear on soy candles. It is only a cosmetic look and does not affect how the candle burns or smells.
Where to find your people
- Local craft stores and community classes. Shops like Michaels and JOANN, plus library and rec-center workshops, often run beginner candle classes where you can learn hands-on and meet other makers.
- Your senior center or community center crafts group. Many host regular craft mornings, and candle making is an easy, sociable project to suggest and do together.
- Online candle-making communities. Facebook groups and the r/candlemaking community on Reddit are friendly places to ask questions, share photos, and get troubleshooting help from makers of every level.
- Candle supplier forums and learning centers. Companies like CandleScience and Bramble Berry host guides, tutorials, and active comment threads where makers swap advice and recipes.
- YouTube channels. Following a few favorite candle makers gives you a steady stream of tutorials, and leaving comments often connects you with a welcoming community of fellow hobbyists.
Start learning Candle Making
Sign up for our free, friendly lessons and we will help you take the first step. Tell us where you are starting from and we will meet you there.


