
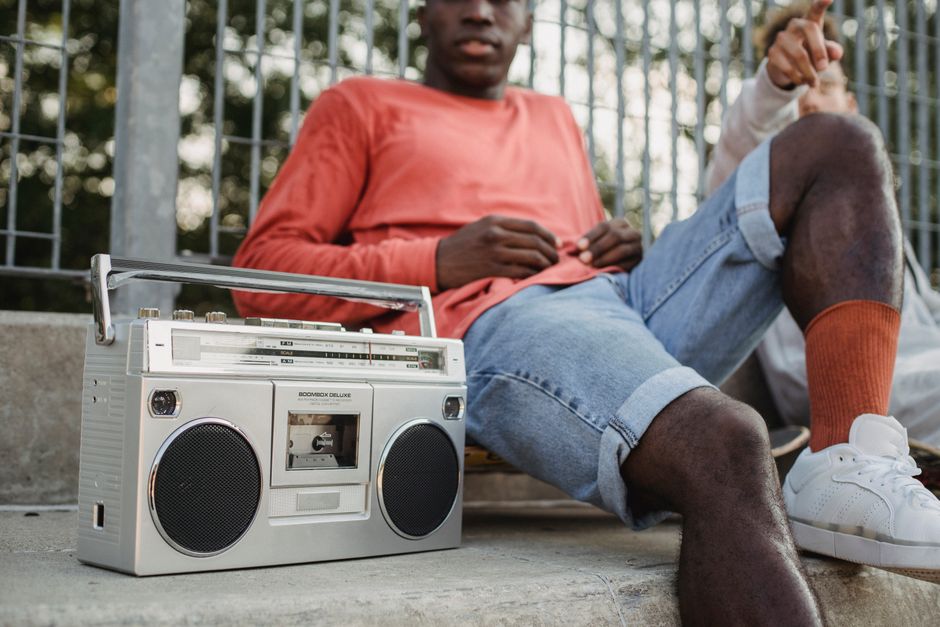
<h2>Why a Boombox Appeals at This Stage of Life</h2><p>For many people in their 50s, the 1980s were a formative decade. The portable boombox—large, bold, and often featured on city sidewalks—symbolized freedom, music discovery, and a sense of community. Today, restoring one can provide a tactile link to that era while delivering a purposeful project that fits a busy schedule.</p><h2>Choosing the Right Model</h2><h3>Identify a Boombox That Resonates</h3><p>Start by selecting a model that you recognize from your youth. Popular brands include Sony, Panasonic, JVC, and Sharp. Look for recognizable features such as twin cassette decks, built‑in speakers, and a distinctive rectangular shape.</p><h3>Assess Condition Before Buying</h3><ul><li><strong>Exterior:</strong> Check for dents, faded paint, and missing screws.</li><li><strong>Cassette Mechanism:</strong> Verify that the tape heads turn freely.</li><li><strong>Power Supply:</strong> Test the battery compartment and AC adapter connection.</li></ul><p>Even a unit with extensive wear can be a good candidate if the chassis is intact.</p><h2>Essential Tools and Materials</h2><ul><li>Screwdriver set (Phillips, flathead, and Torx)</li><li>Soldering iron and solder</li><li>Multimeter for checking circuitry</li><li>Contact cleaner and cotton swabs</li><li>Replacement parts (capacitors, resistors, speaker cones)</li><li>Fine‑grit sandpaper and paint for refinishing</li></ul><p>Most of these items are available at local hardware stores or online retailers. Keep a small, organized workspace to reduce the time needed between sessions.</p><h2>Step‑by‑Step Restoration Process</h2><h3>1. Disassembly</h3><p>Remove the outer casing by unscrewing all visible fasteners. Document the order of removal with photos; this makes reassembly smoother.</p><h3>2. Cleaning the Interior</h3><p>Use contact cleaner on circuit boards to dissolve oxidation. Gently brush away debris with a soft brush. Clean speaker cones with mild detergent and let them dry completely.</p><h3>3. Inspecting and Replacing Electronics</h3><p>With a multimeter, test capacitors, resistors, and the power supply for continuity. Replace any component that shows signs of failure. Solder new parts in place, ensuring solid connections.</p><h3>4. Mechanical Repairs</h3><p>Lubricate cassette gears with a light oil to restore smooth operation. Replace worn belts or rollers as needed. Check the tape head alignment and adjust if it is off‑center.</p><h3>5. Repainting and Finishing</h3><p>If the paint has faded, lightly sand the surface and apply a primer. Choose a color that matches the original palette or a nostalgic hue you prefer. Finish with a clear coat to protect the surface.</p><h3>6. Reassembly and Testing</h3><p>Follow your photos to reattach panels. Insert fresh batteries or connect an AC adapter, then run a test cassette or MP3 file via an auxiliary input (if the model includes one). Verify that both speakers produce clear sound without distortion.</p><h2>Budgeting the Project</h2><p>Typical costs break down as follows:</p><ul><li>Acquisition of a used boombox: $30–$120</li><li>Replacement electronic components: $20–$50</li><li>Tools (if not already owned): $50–$150</li><li>Finishing supplies: $15–$30</li></ul><p>Most hobbyists keep total expenses under $250, making it a modest investment relative to potential enjoyment and resale value.</p><h2>Finding Parts and Community Support</h2><p>Online marketplaces such as eBay and specialized vintage audio forums often list individual components. Join a retro‑audio group on social media to exchange tips, locate hard‑to‑find parts, and arrange meet‑ups for swapping equipment.</p><h2>Benefits Beyond the Project</h2><ul><li><strong>Mental Stimulation:</strong> Troubleshooting electronic circuits engages problem‑solving skills.</li><li><strong>Physical Activity:</strong> Fine motor work and the occasional light lifting provide gentle exercise.</li><li><strong>Social Connection:</strong> Sharing progress with fellow enthusiasts creates a sense of belonging.</li><li><strong>Potential Income:</strong> Restored boomboxes often sell for $150–$300, offering a modest side‑hustle if you choose.</li></ul><h2>Safety Tips</h2><p>Always disconnect power before opening the unit. Use protective eyewear when soldering, and work in a well‑ventilated area when applying paint or solvents.</p><h2>Integrating the Hobby Into a Busy Life</h2><p>Allocate short, regular sessions—perhaps one hour on a weekend morning. The incremental approach fits well with career responsibilities, family commitments, and the newfound flexibility that an empty nest often brings.</p><h2>Conclusion</h2><p>Restoring a classic 1980s boombox offers a concrete way to revisit the soundtrack of your youth while cultivating skills, community, and a modest financial upside. The project’s manageable scope respects the time constraints of a mid‑life adult, making it an ideal blend of nostalgia and purposeful activity.</p>
Nostalgia
Restoring Classic 1980s Boomboxes: A Hands‑On Hobby for the Midlife Adult
Affiliate disclosure: This page may contain affiliate links (including Amazon). 50 Plus Hub may earn a commission at no extra cost to you. We also recommend our own assessments and products when they fit.
Real World IQ Assessment
Test the practical intelligence that decades of living gave you — not a school quiz.
Take Real World IQRecommended for You
Hand-picked resources related to this article
Books
Kindle Unlimited
Read classic books and memoirs from every decade. First month free.
Books
Bookshop.org
Buy nostalgic reads while supporting local independent bookstores.
Learn
MasterClass
Hear stories and lessons from legends across music, film, sports, and history.
Affiliate disclosure: We may earn a commission at no cost to you.