
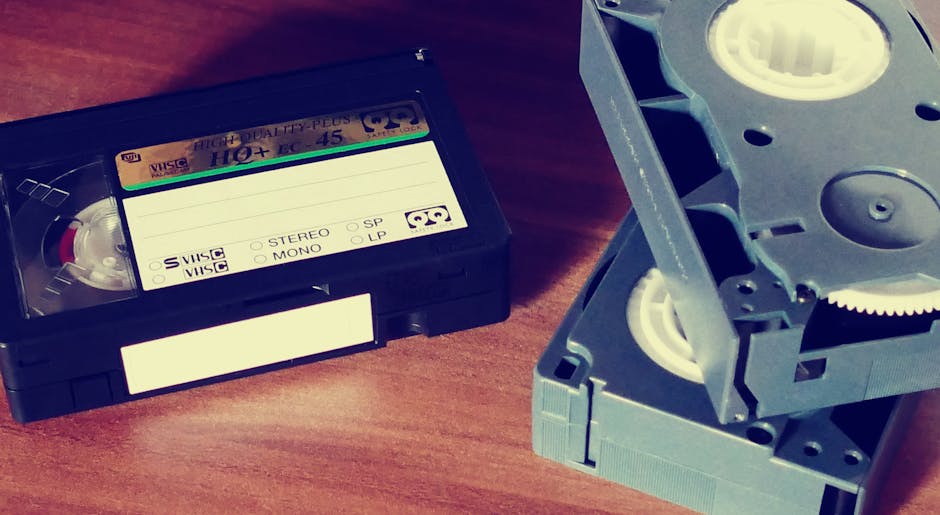
<h2>Why Preserve Your VHS Collection Now?</h2> <p>Most people in their fifties grew up with video cassette recorders (VCRs) as the primary way to watch movies and record family events. As children move out and grandchildren arrive, the desire to keep those memories intact often grows. VHS tapes degrade over time, and the equipment needed to play them becomes harder to find. Converting the tapes to digital files protects the content and makes it easier to share with family members who use smartphones or tablets.</p>
<h2>Assessing What You Have</h2> <p>Before you begin, take inventory of your tapes. Ask yourself two questions:</p> <ul> <li><strong>What is the emotional value?</strong> Prioritize home movies, milestone events, and any recordings that cannot be replaced.</li> <li><strong>What is the physical condition?</strong> Tapes that look cracked, stretched, or have mold may need professional attention.</li> </ul> <p>Separate the most important tapes from the ones you are willing to let go.</p>
<h2>Choosing Between DIY and Professional Services</h2> <p>There are two main routes: converting the tapes yourself or sending them to a conversion service. Both have advantages.</p> <h3>Do‑It‑Yourself (DIY) Approach</h3> <p>This option is cost‑effective and gives you full control over file formats and naming conventions. You will need a few basic pieces of equipment:</p> <ul> <li><strong>Working VCR</strong> – A functional VCR that can play the tapes without jamming.</li> <li><strong>Video capture device</strong> – A USB‑connected device that accepts the VCR’s RCA or S‑Video output and converts the analog signal to digital.</li> <li><strong>Computer with sufficient storage</strong> – A hard drive or external SSD that can hold several gigabytes per hour of video.</li> <li><strong>Conversion software</strong> – Free programs such as OBS Studio or proprietary software that comes with the capture device.</li> </ul> <p>If you already own a laptop or desktop for work or hobbies, you likely have enough storage. An external drive is a wise backup.</p> <h3>Professional Conversion Services</h3> <p>Sending tapes to a reputable service can save time, especially for large collections or fragile tapes. Look for providers that offer:</p> <ul> <li>Transparent pricing per tape or per hour.</li> <li>Options for file format (MP4 is widely compatible).</li> <li>Secure handling and tracking.</li> <li>Quality checks for tape damage.</li> </ul> <p>While the cost is higher than a DIY setup, the peace of mind can be worth it for irreplaceable home movies.</p>
<h2>Step‑by‑Step DIY Conversion Process</h2> <h3>1. Set Up Your Equipment</h3> <p>Connect the VCR’s output cables to the capture device. Most VCRs use red, white, and yellow RCA connectors. Plug the capture device into a USB port on your computer. Install any drivers or software required by the device.</p>
<h3>2. Prepare the Tape</h3> <p>Fast‑forward the tape a few seconds, then rewind it. This helps loosen any tape that may be stuck. If the tape smells of mold, consider cleaning the VCR heads with a cotton swab dipped in isopropyl alcohol before playback.</p>
<h3>3. Configure the Capture Software</h3> <p>Open your chosen software and select the capture device as the video source. Set the output format to MP4 with H.264 encoding for broad compatibility. Choose a resolution that matches the original VHS quality (usually 720×480 for NTSC).</p>
<h3>4. Record the Tape</h3> <p>Press “Record” in the software, then press “Play” on the VCR. Monitor the capture window to ensure video and audio are being recorded. Let the tape run its full length; pausing the recording for commercial breaks is optional but can simplify later editing.</p>
<h3>5. Save and Organize Files</h3> <p>When the tape finishes, stop the capture and save the file. Use a naming convention that includes the event, date, and tape number (e.g., "Family_Reunion_2002_Tape01.mp4"). Store the files in a dedicated folder on your computer and back them up to an external drive or cloud storage.</p>
<h3>6. Optional Editing</h3> <p>If you wish to trim silent sections or add captions, free editing tools such as Shotcut or DaVinci Resolve can handle basic cuts. Keep edits simple to preserve the original feel of the recording.</p>
<h2>Preserving the Digital Files for the Future</h2> <p>Once your videos are digitized, treat them like any other important document:</p> <ul> <li><strong>Create multiple backups.</strong> Keep one copy on an external drive and another in a reputable cloud service.</li> <li><strong>Maintain consistent naming.</strong> This makes it easy to locate a specific memory years later.</li> <li><strong>Consider sharing.</strong> Uploading selected clips to a private family album can let grandchildren view the memories without handling physical tapes.</li> </ul> <p>Regularly check the health of your storage devices. Data loss can happen silently, and a quick verification every six months prevents surprises.</p>
<h2>Balancing Nostalgia with Practicality</h2> <p>Transitioning from a full‑time career to a more flexible schedule often means you have more time for personal projects. Converting VHS tapes blends the sentimental value of the past with the convenience of modern technology. By following this guide, you protect family history, free up physical storage space, and create a digital archive that can be enjoyed for decades to come.</p>