
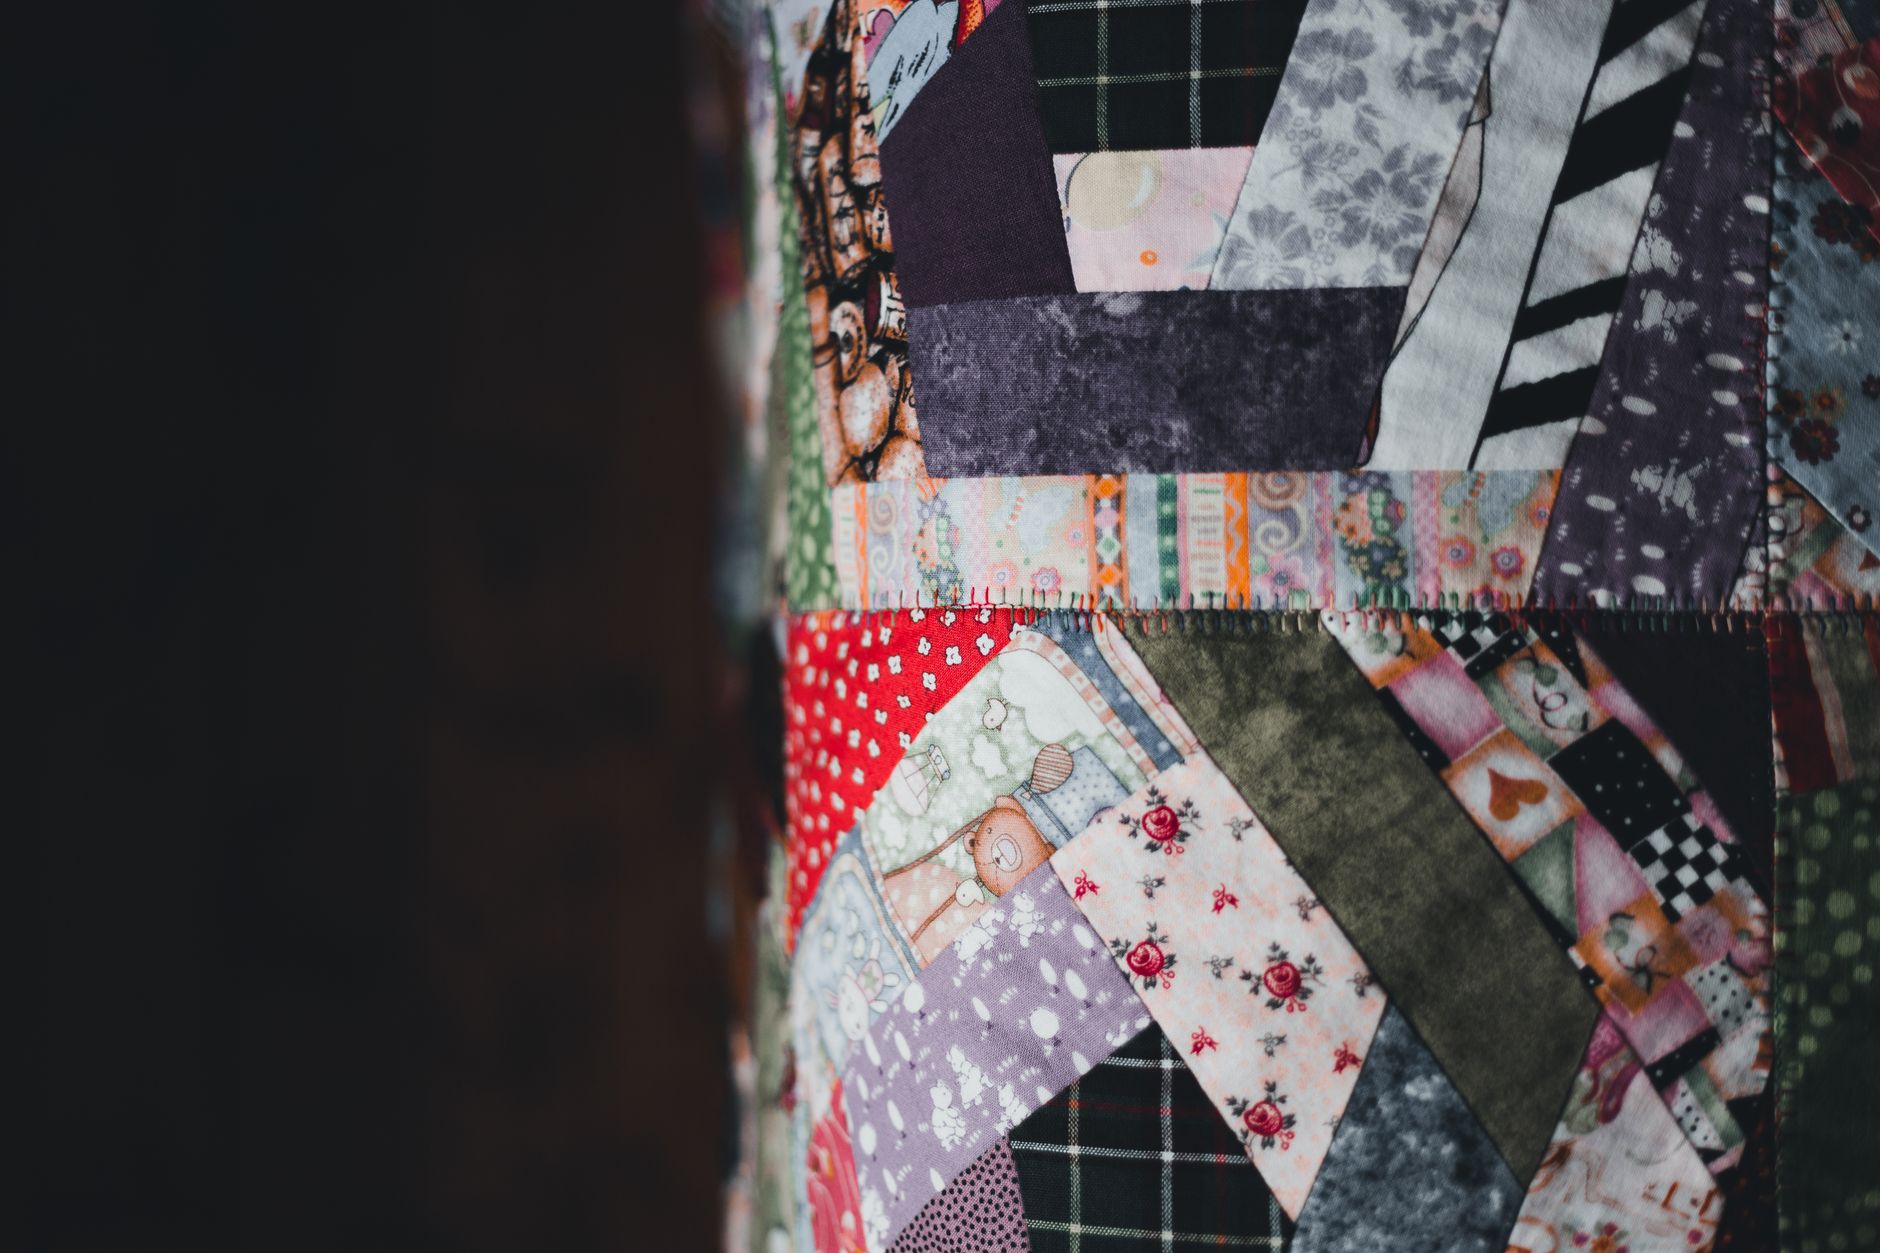
Quilting
Quilting turns scraps of fabric into heirlooms that families treasure for generations. It blends color, pattern, and patience into something deeply personal.
What you need to start
- Cotton fabric or a fat quarter bundle
- A rotary cutter and mat
- A quilting ruler
- Thread and pins
At a glance
Your learning path
Three stages, taken at your own pace. Start at the top, get comfortable, then move down as you grow. There is no rush, and no wrong place to begin.
Start here. These four videos cover the tools you actually need, how to cut fabric safely and accurately, your very first seams and patchwork, and a low-stress way to finish a small project. Go slow, and don't worry about perfection on your first blocks.
Fat Quarters - Brand New to Quilting series - Quilting Tutorial
Missouri StarQuilty: how to cut fabric using a rotary cutter and mat with Marianne Fons
Fons & Porter's Love of QuiltingMake a "Nine Patch on Point" Quilt with Jenny Doan of Missouri Star! (Video Tutorial)
Missouri StarHow to "Quilt As You Go" Any Block with Jenny Doan of Missouri Star! (Video Tutorial)
Missouri StarOnce you can cut and piece, these five skills take you all the way to a finished quilt: half-square triangles, joining blocks with sashing and borders, basting the three layers, machine quilting with a walking foot, and binding the edges.
How To: Make Super-Speedy Half-Square Triangles from Quilting Quickly with Jenny Doan
CraftsyLearn to Quilt: Sashing and Borders with Cornerstones
Stacey Lee CreativeHow to Table Baste a Quilt (Beginner Quilt TUTORIAL!)
Erica ArndtBeginner Machine Quilting with a Walking Foot - Easy Quilting Tutorial with Leah Day
Leah Day QuiltingThe Ultimate Quilt Binding Tutorial with Jenny Doan of Missouri Star (Instructional Video)
Missouri StarReady to stretch yourself? These five videos open up precision piecing, decorative stitching, and full-size quilts: foundation paper piecing, free-motion quilting, applique, choosing color and design, and wrestling a big bed quilt through a home machine.
Foundation Paper Piecing Tutorial
A Quilting LifeBeginner Free Motion Machine Quilting with Jenny Doan of Missouri Star (Instructional Video)
Missouri StarHow to do Fusible Applique or Raw Edge Applique Tutorial
TheCraftyGeminiColor Theory choosing fabrics using the Quilty Color Wheel
Riley Blake DesignsHow to Quilt a Big Quilt on a Standard Sewing Machine
Wendi GratzWhy quilting is wonderful after 50
Quilting rewards exactly the qualities that grow richer with age: patience, an eye for color, and the joy of making something by hand. It is gentle on the body when you set up smartly, and you can work in short, satisfying sessions rather than marathons. Every quilt tells a story, so it becomes a wonderful way to mark birthdays, weddings, and new grandbabies with a gift no one can buy in a store. It also keeps the mind sharp through planning, measuring, and problem-solving, and it connects you to one of the warmest, most welcoming creative communities anywhere. Best of all, you finish with something useful and lasting.
Your first month, week by week
Gather a few basics and learn to cut. Watch the tools and rotary-cutting videos, then practice straight cuts on scrap fabric until you feel safe and steady. Don't buy everything at once; a rotary cutter, a small mat, one ruler, and an iron get you started.
Sew your first seams. Set your machine for a consistent quarter-inch seam and stitch some 2.5-inch squares together into rows. Press as you go. The goal this week is simply that your corners meet and your seams stay an even width.
Make a simple block. Try a nine-patch or a few half-square triangles and join four or nine squares into one finished block. You now understand piecing, the heart of quilting. Lay your block flat and admire it.
Finish something small. Use the quilt-as-you-go or a small table-runner project to layer, quilt, and bind a finished piece. Holding your very first completed project, however imperfect, is the moment most people fall in love with quilting.
Common mistakes to avoid
- An inaccurate quarter-inch seam, so blocks end up the wrong size. Test your seam by sewing three 2.5-inch squares in a row; the center square should measure exactly 2 inches. Adjust your needle or use a quarter-inch foot or a strip of tape as a guide until it does.
- Not pressing seams, which leaves blocks lumpy and inaccurate. Press after every seam. Set the seam first, then press it to one side or open. Press, don't scrub the iron back and forth, or you will stretch the fabric out of shape.
- Wavy, rippling borders that won't lie flat. Measure the quilt through the center in three places, average it, and cut borders to that length. Ease the quilt to the border with pins rather than sewing a long strip on and trimming the excess.
- Cutting inaccurately or off-grain so pieces don't match. Square up your fabric edge first, line the ruler up on the printed lines, and keep firm even pressure. Replace a dull rotary blade; most skipped and ragged cuts come from a blade that needs changing.
- Skipping basting, so layers shift and pucker during quilting. Smooth and secure all three layers before you quilt. Pin baste every three to four inches or use basting spray, always working from the center outward to push wrinkles to the edges.
- Trying a king-size masterpiece as a first project and burning out. Start small with a pillow, table runner, or baby quilt. Finishing builds confidence and teaches every core skill in miniature before you commit months to a bed quilt.
Make it easier on your body
Simple ways to keep quilting comfortable and safe with arthritis, low vision, or limited mobility.
- Rotary cutter strain and safety with arthritic hands. Choose an ergonomic rotary cutter with a comfort grip and a squeeze-style safety that retracts the blade automatically when you let go. Make short, smooth strokes instead of long forceful ones, always cut away from your body, and change the blade often so you never have to press hard.
- Cutting while standing or bending over a low table hurts the back and hips. Raise your cutting surface to counter or elbow height, or set up a tall stool so you can sit to cut. Cutting at the right height protects your back and gives you far better control of the ruler and blade.
- A heavy iron is hard to lift and tiring over a long session. Use a lightweight iron or a small craft iron, and keep the board right beside your machine so you barely lift it. A wool pressing mat lets you finger-press many seams without the iron at all.
- Fine seams and dark fabrics are hard to see with aging or low vision. Add a bright, directable task light at the machine and a second one at the cutting table. A clip-on magnifier or a magnifying floor lamp makes thread, needle, and seam lines clear, and high-contrast or larger pieces are far easier to handle.
- Cutting many small pieces is slow and tough on the hands. Buy precut fabrics like jelly rolls, charm packs, and layer cakes. They are accurately cut for you, so you skip most of the cutting and jump straight to the fun of piecing.
- Standard scissors and managing a heavy quilt at the machine are hard on weak wrists. Use spring-loaded, self-opening scissors that do the work for you. When quilting a big project, set up extra tables to the left and behind the machine so the quilt's weight rests on the surface, not your wrists, and quilt in smaller sections.
Words you'll hear
- Fat quarter
- A quarter yard of fabric cut as a roughly 18 by 22 inch rectangle instead of a long thin strip, giving you a more useful, squarish piece to work with.
- Piecing
- Sewing fabric pieces together, usually with a quarter-inch seam, to build the blocks and rows that make up a quilt top.
- Basting
- Temporarily holding the three quilt layers together with pins, spray, or large stitches so they don't shift while you quilt them.
- Sashing
- The strips of fabric sewn between blocks to frame them and set them apart, like grout between tiles. Small squares at the corners are called cornerstones.
- Binding
- The narrow folded strip of fabric stitched around the outer edge of a finished quilt to cover the raw edges and give it a clean border.
- Wadding / batting
- The soft middle layer of a quilt, sandwiched between the top and the backing, that gives the quilt its warmth and puffiness.
- Half-square triangle
- A square block made of two contrasting triangles joined along the diagonal, one of the most versatile building blocks in quilting.
Where to find your people
- Local quilt guilds. Most towns have a quilt guild that meets monthly with demos, charity projects, and friendly mentors. Search your area name plus quilt guild, and visit as a guest first; nearly all welcome beginners warmly.
- Quilt shops. Your local quilt shop is a hub for classes, sit-and-sew days, and block-of-the-month groups. The staff are a goldmine of advice and will happily help you choose fabric and fix a problem.
- Senior centers and community groups. Many senior centers, libraries, and churches host quilting and sewing circles. These relaxed, social groups are perfect for learning at your own pace alongside others in your age group.
- Online communities. Facebook quilting groups, the Missouri Star quilt forum, and sites like Quiltingboard let you ask questions any hour, share your projects, and get encouragement from quilters around the world.
- YouTube channels. Follow trusted teachers such as Missouri Star, Jordan Fabrics, Leah Day, and A Quilting Life. Free step-by-step videos mean you always have a patient instructor on call whenever you sit down to sew.
Start learning Quilting
Sign up for our free, friendly lessons and we will help you take the first step. Tell us where you are starting from and we will meet you there.
More in Creative & Crafts

Watercolor Painting
Loose, forgiving, and gloriously relaxing
Start this one →
Drawing and Sketching
All you need is a pencil and a few quiet minutes
Start this one →
Calligraphy and Hand Lettering
Turn everyday words into something beautiful
Start this one →
Knitting
Cozy, portable, and deeply satisfying
Start this one →